

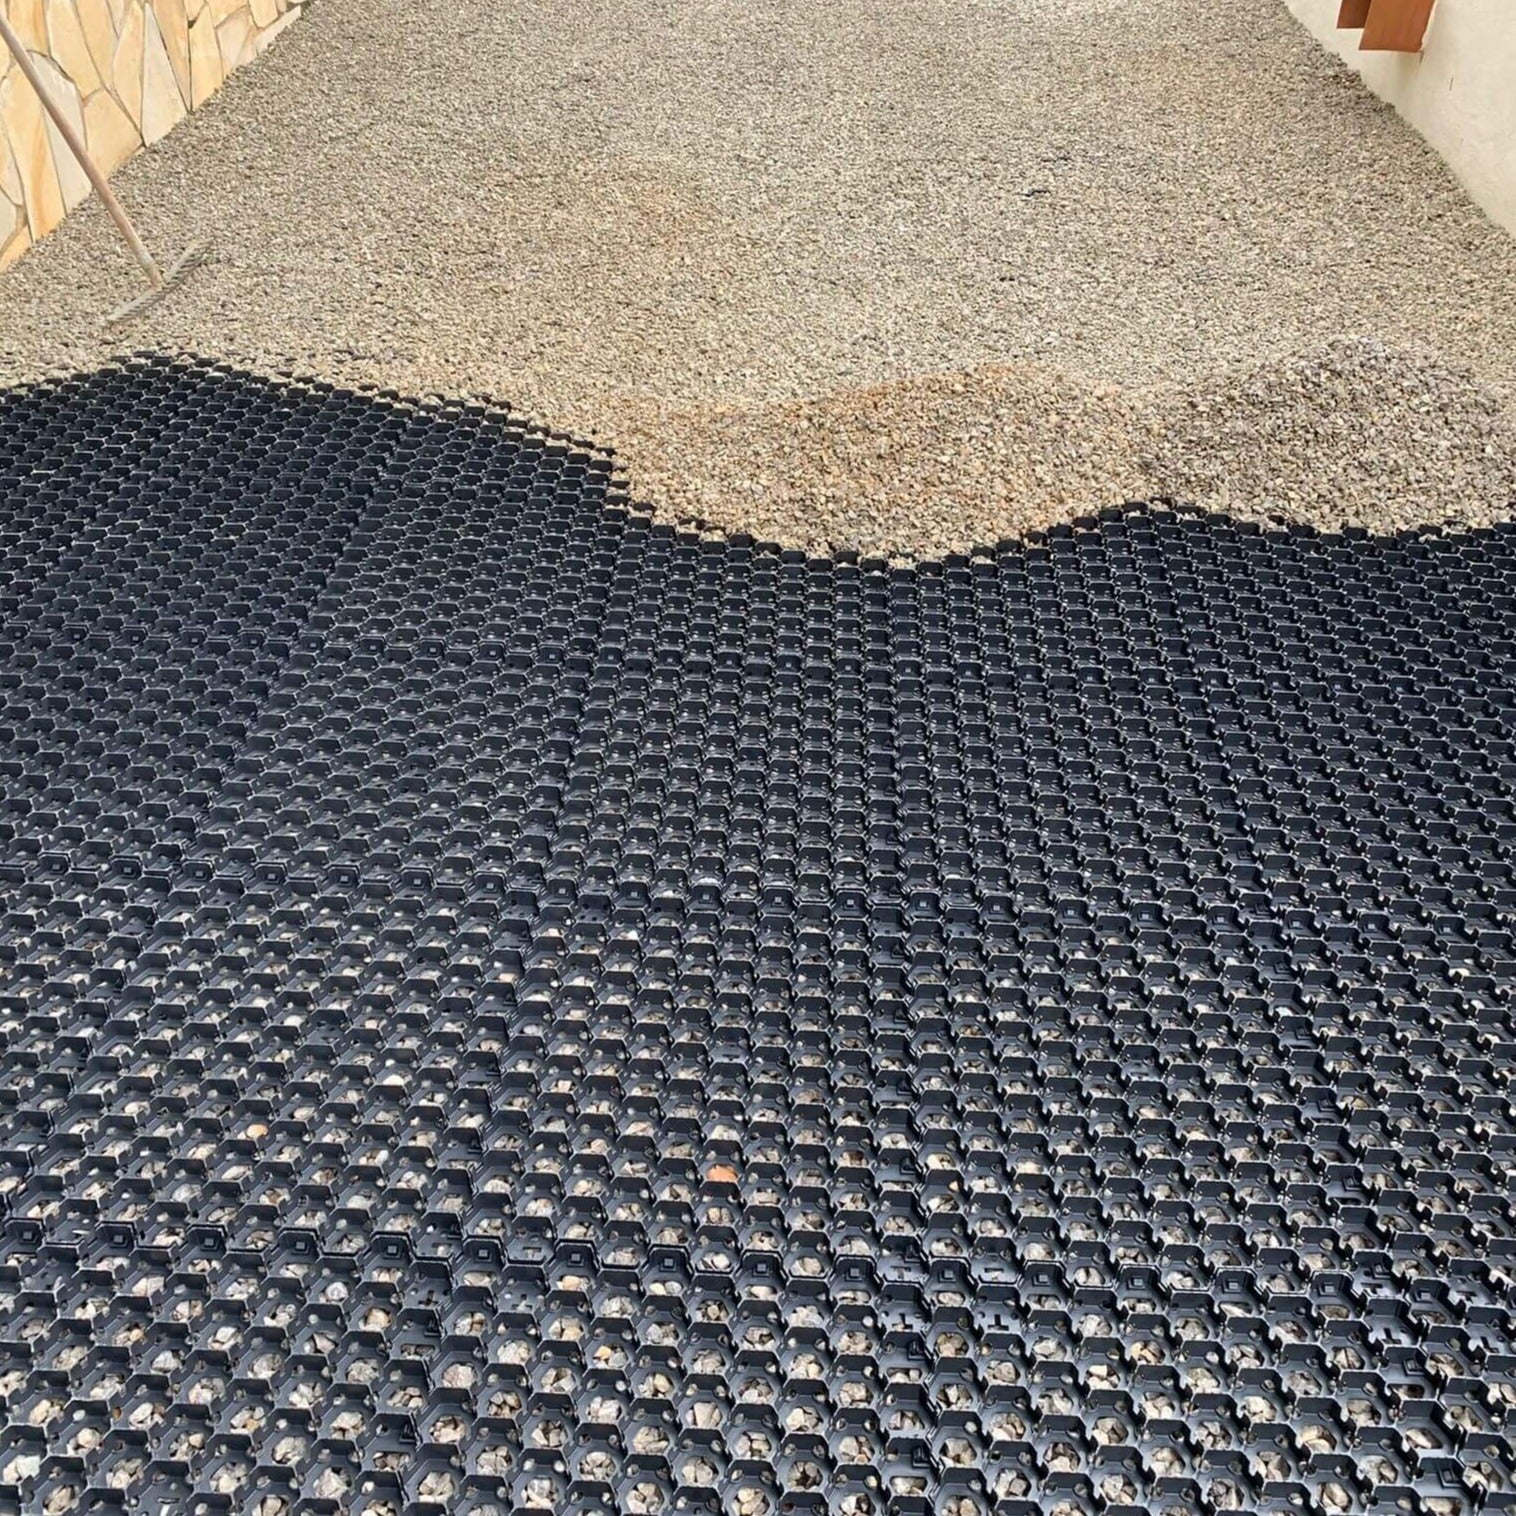
Gravel Stabilizer
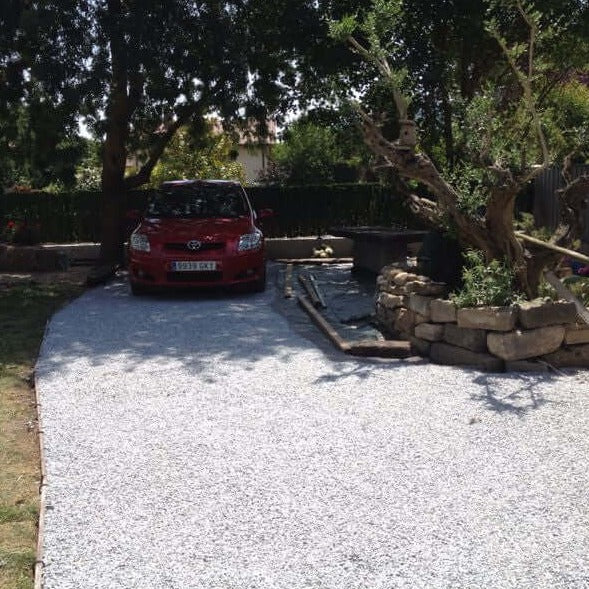
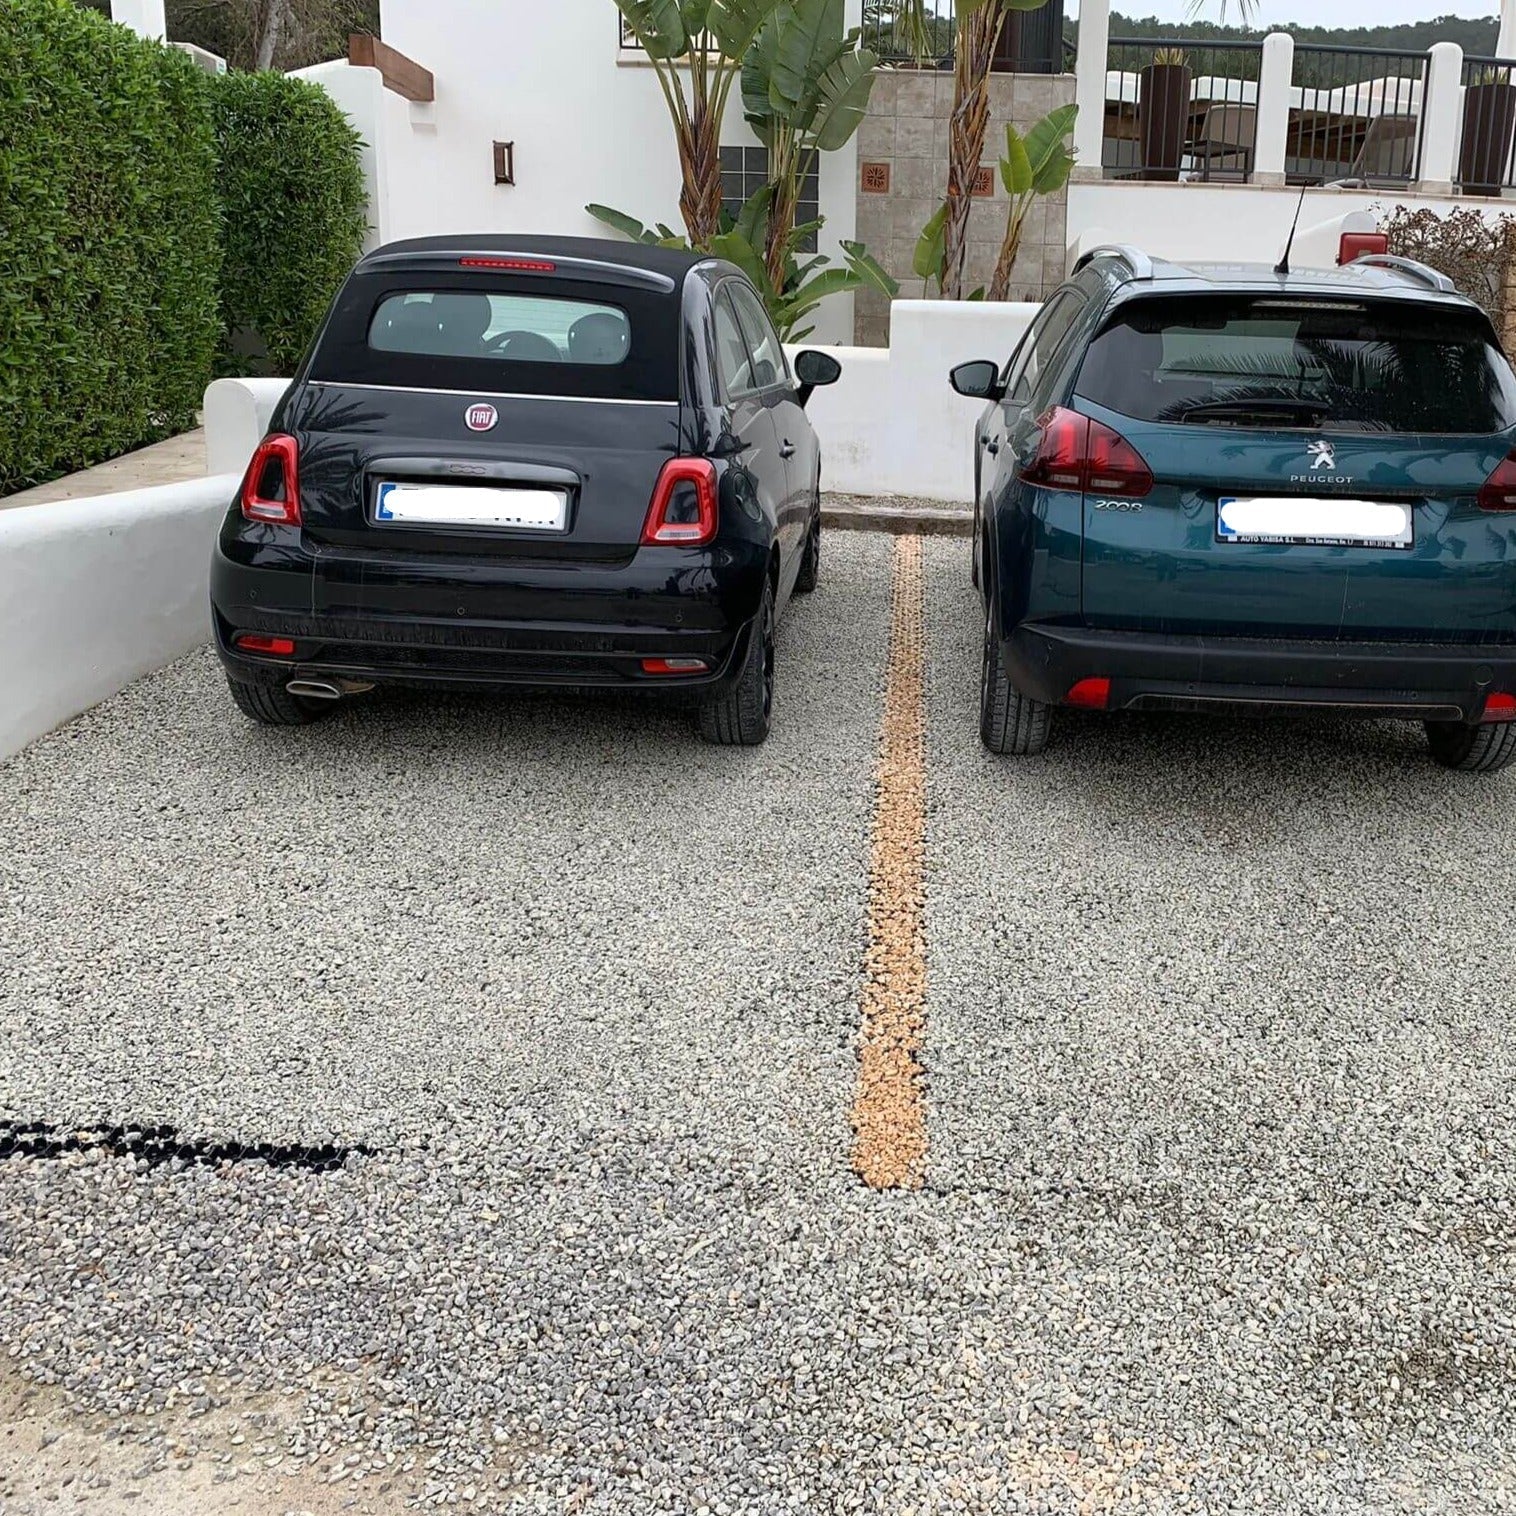
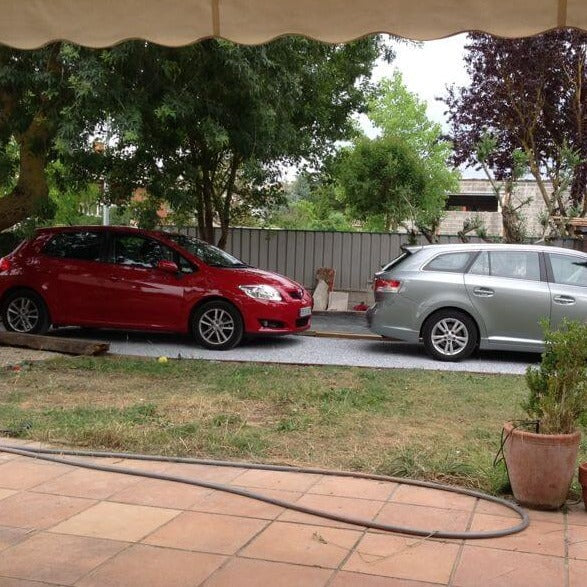
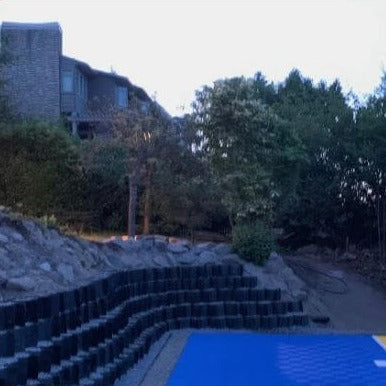
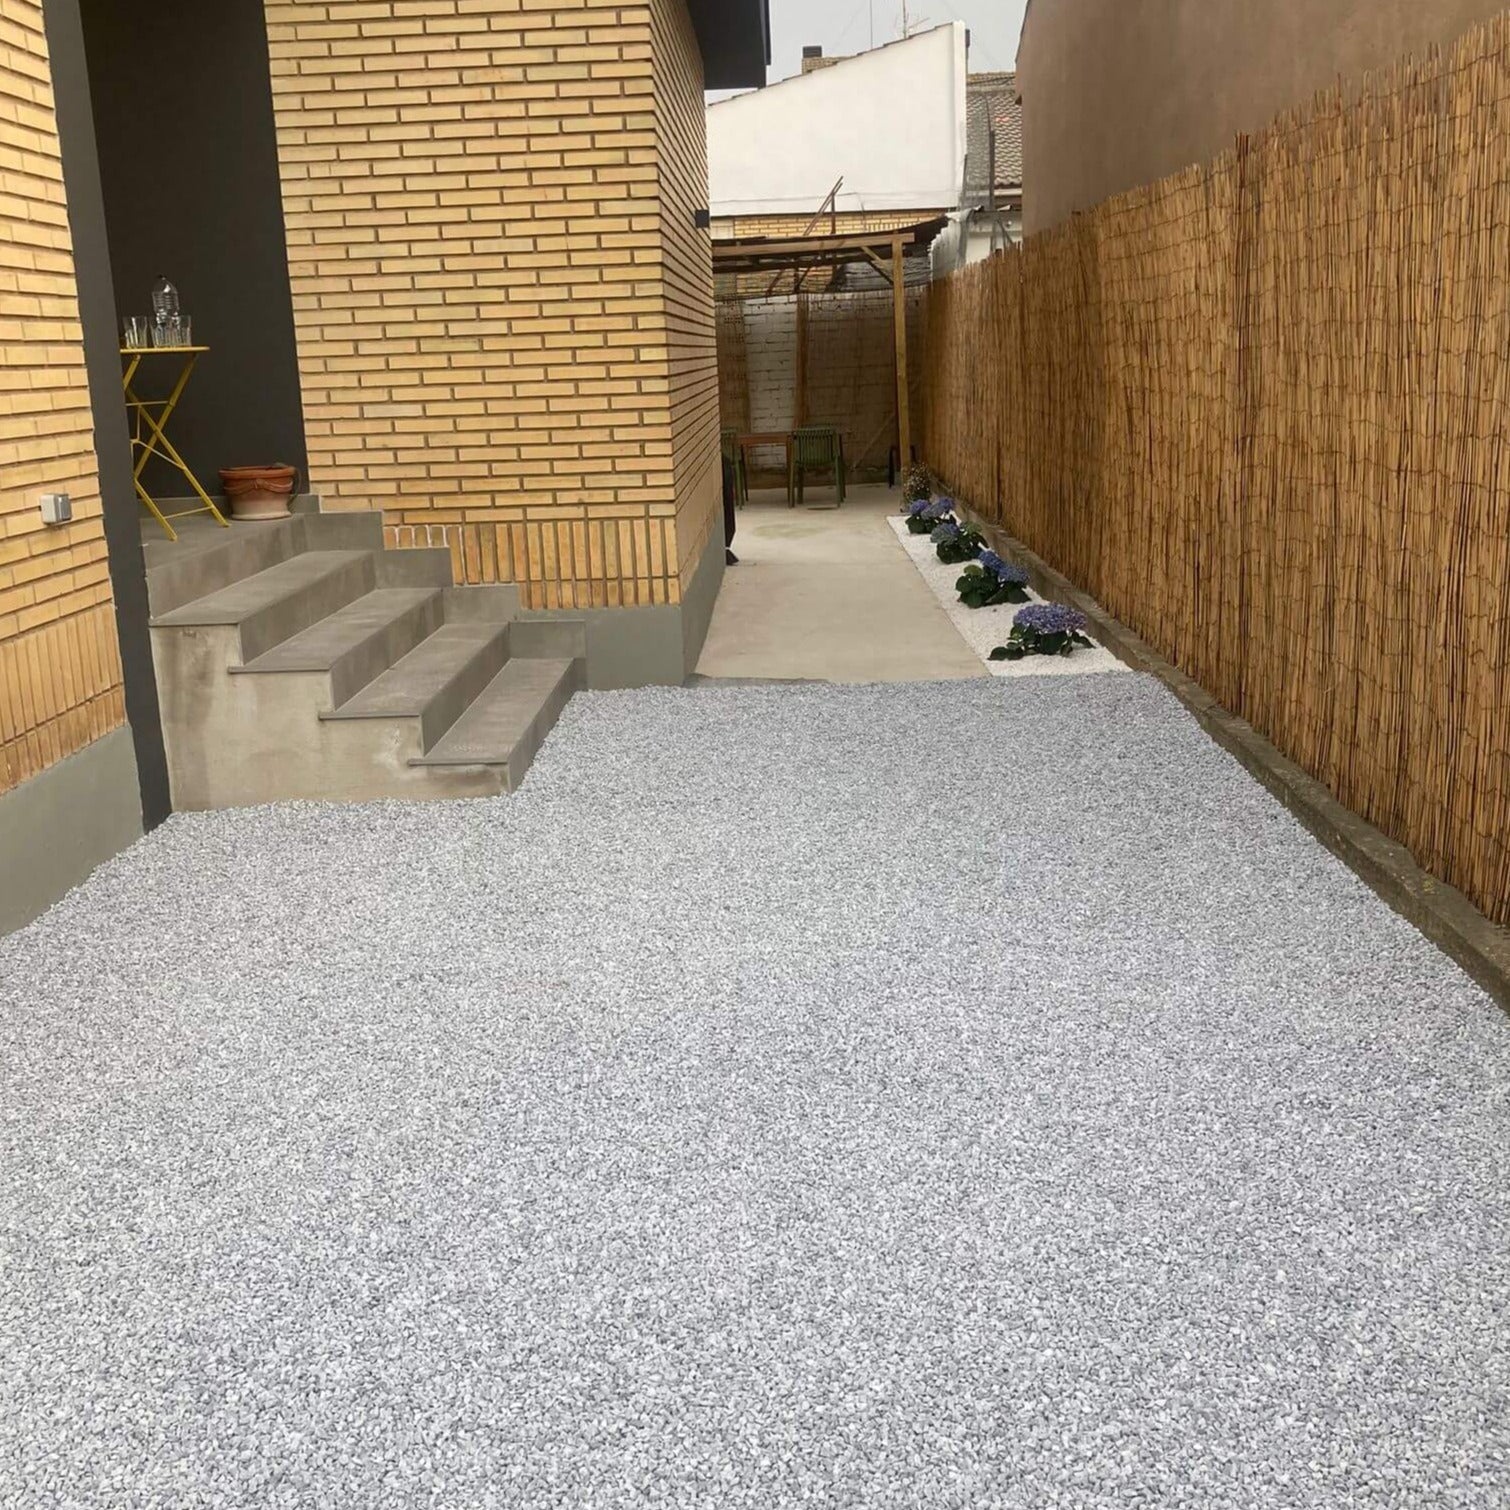
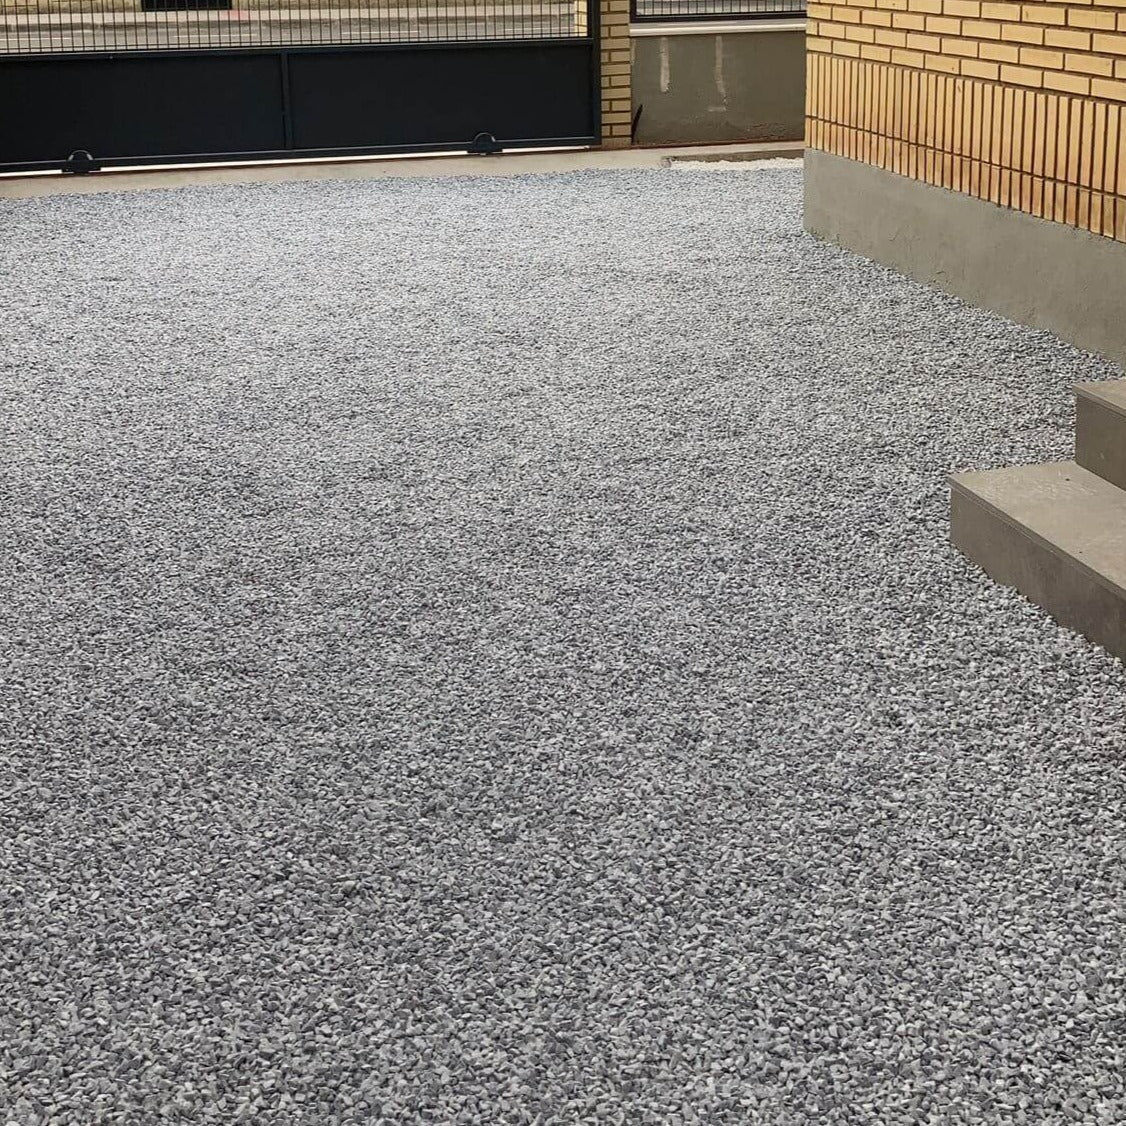
Get paths and paths made with natural gravel with the comfort of a concrete path. Comfortable for walking, bicycles and even wheelchairs but with the natural look of a gravel path.
Features of geocell stabilizer for gravel
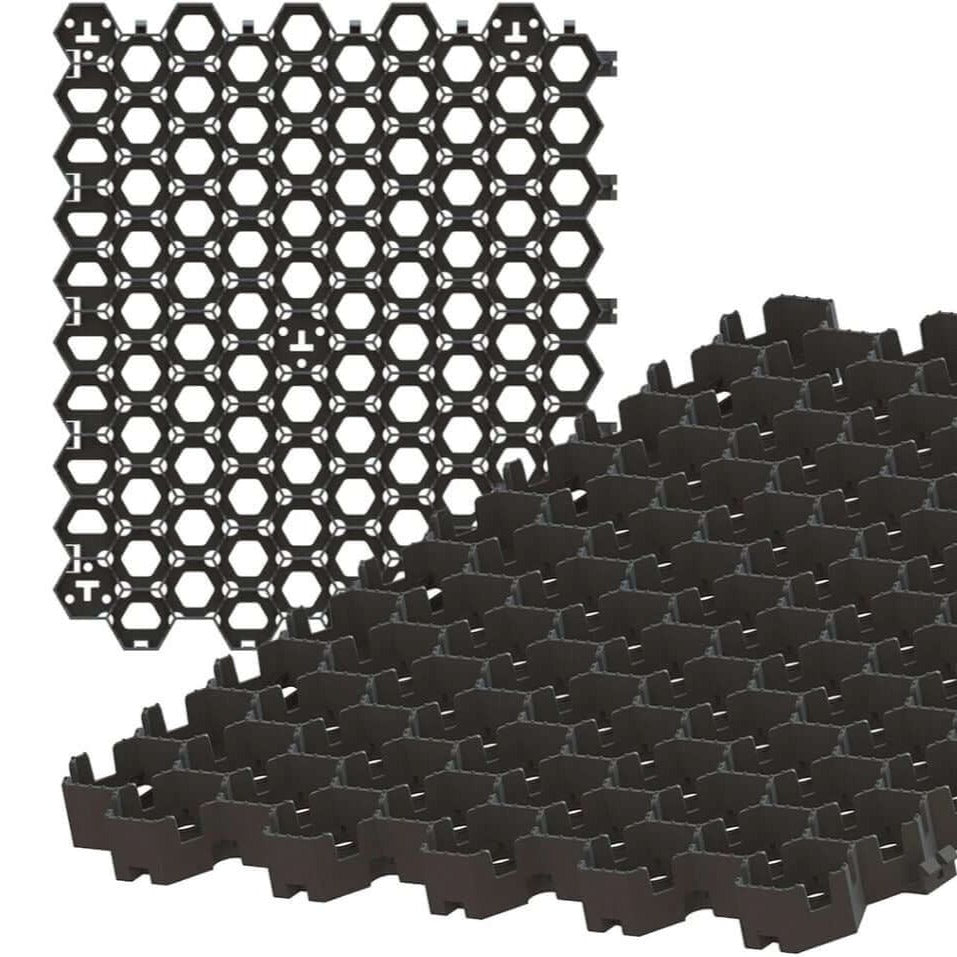
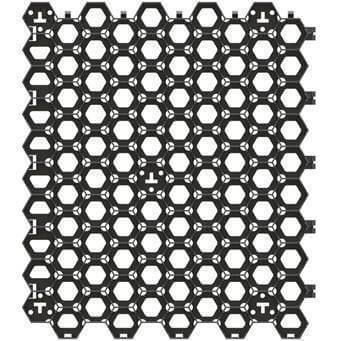
Plates made with 100% recycled ECO material.
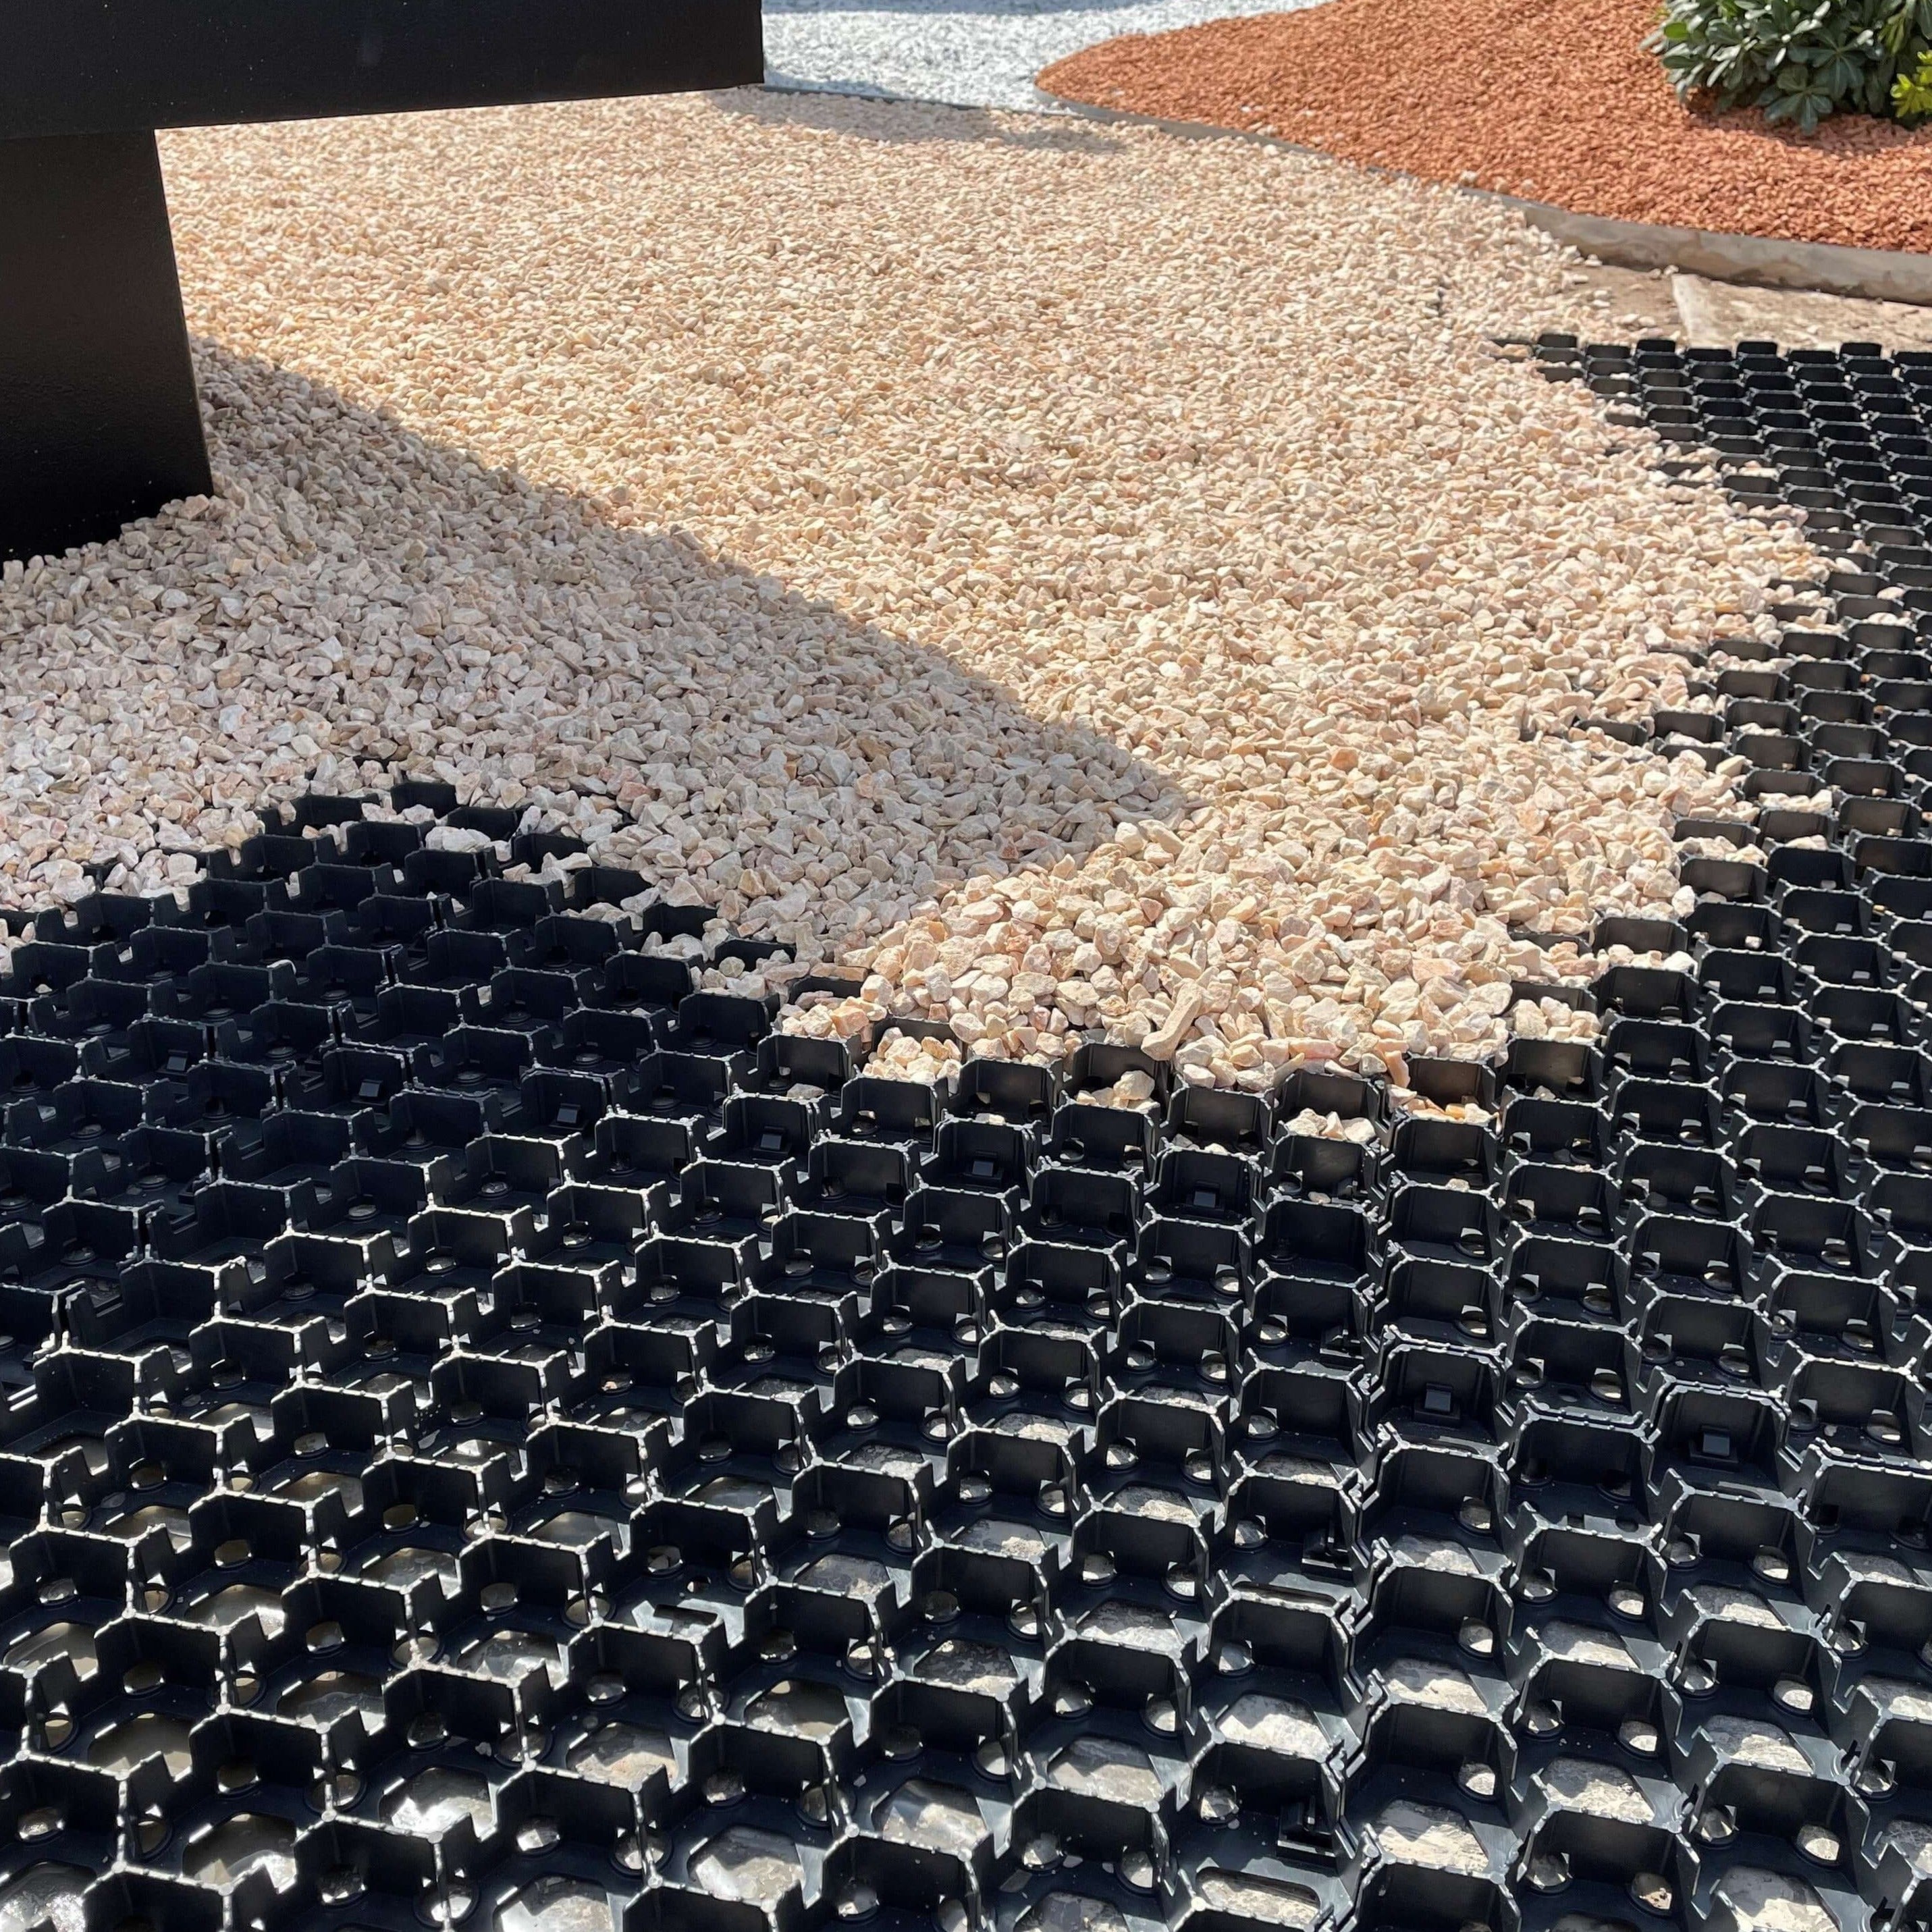
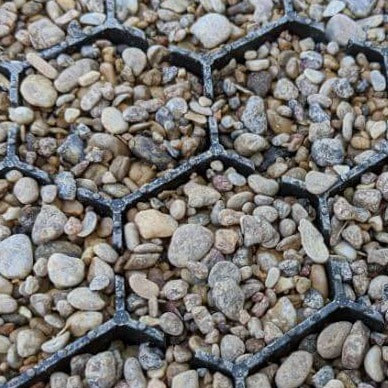
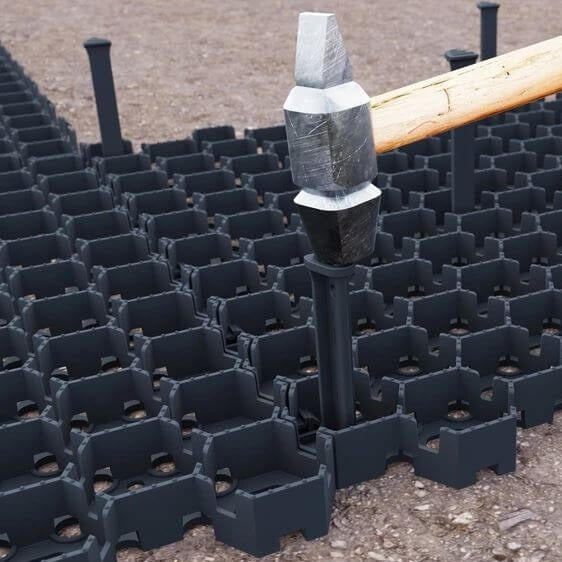
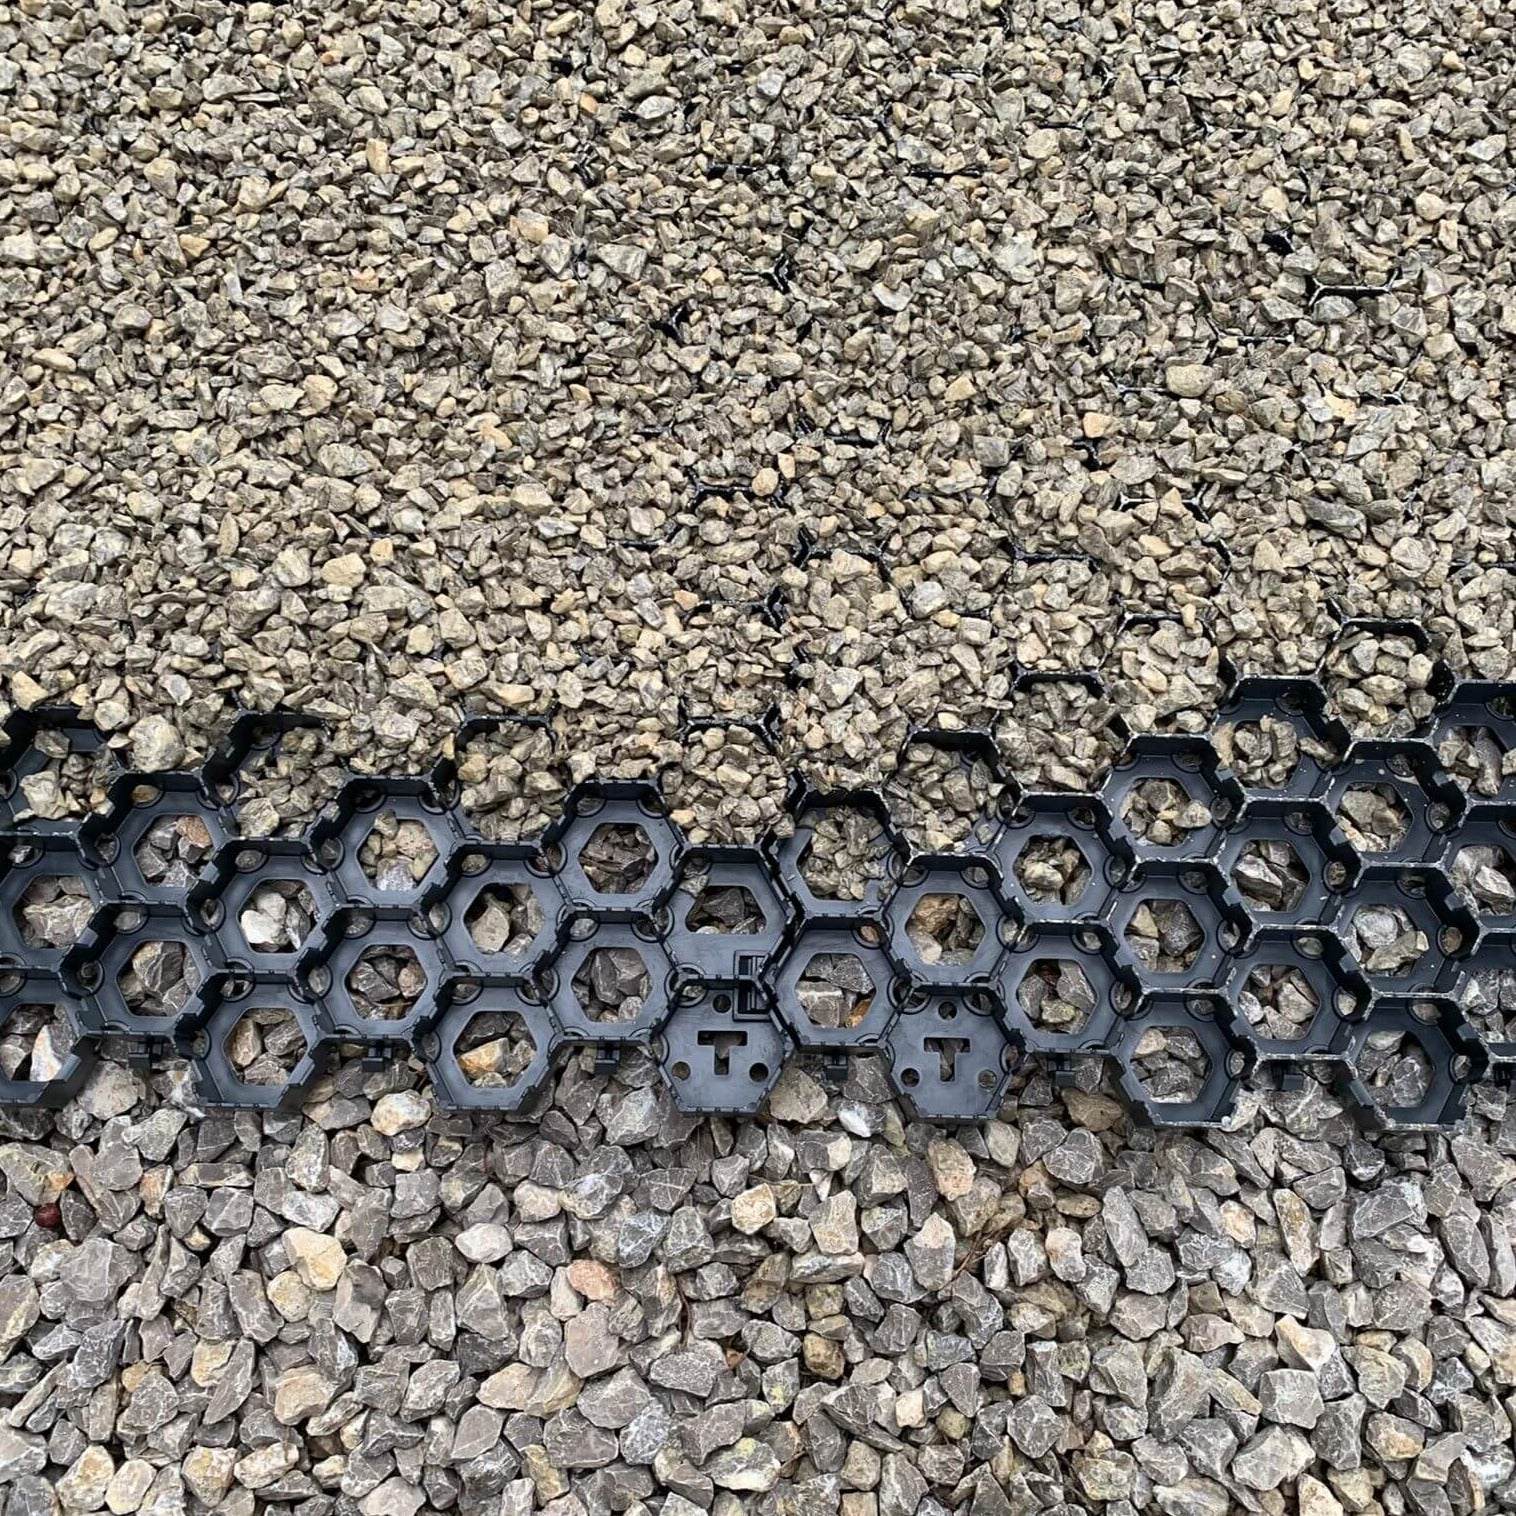
50.5x58 cm modules with 5x5 cm hexagonal geocells and 3 cm height.
4 plates make up 1.17 m².
Supports up to 1,750 KN/M2 with filling chippings for temperatures from -50C to +50С.
Load class B125 up to 12,500kg with filling
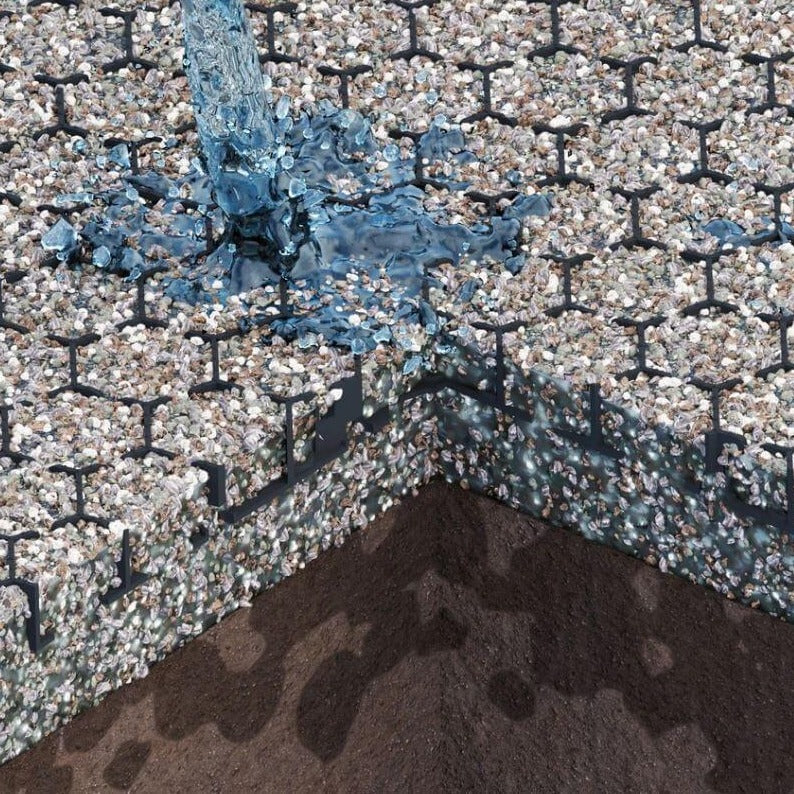
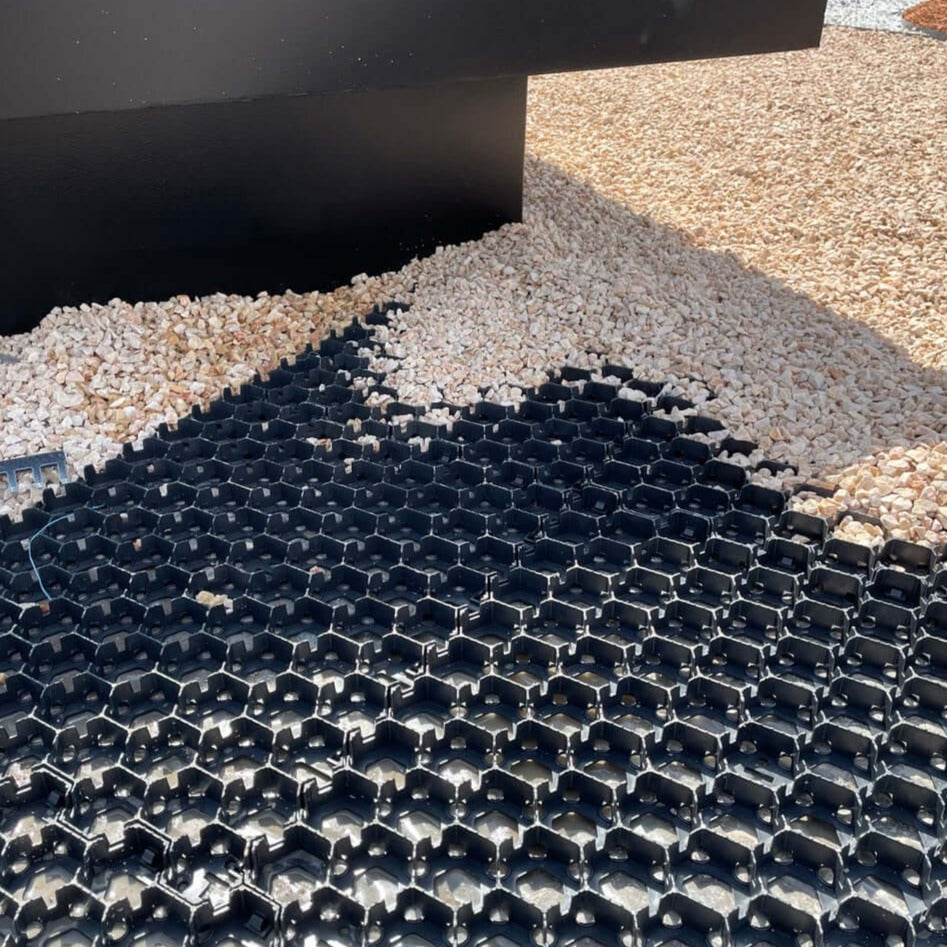
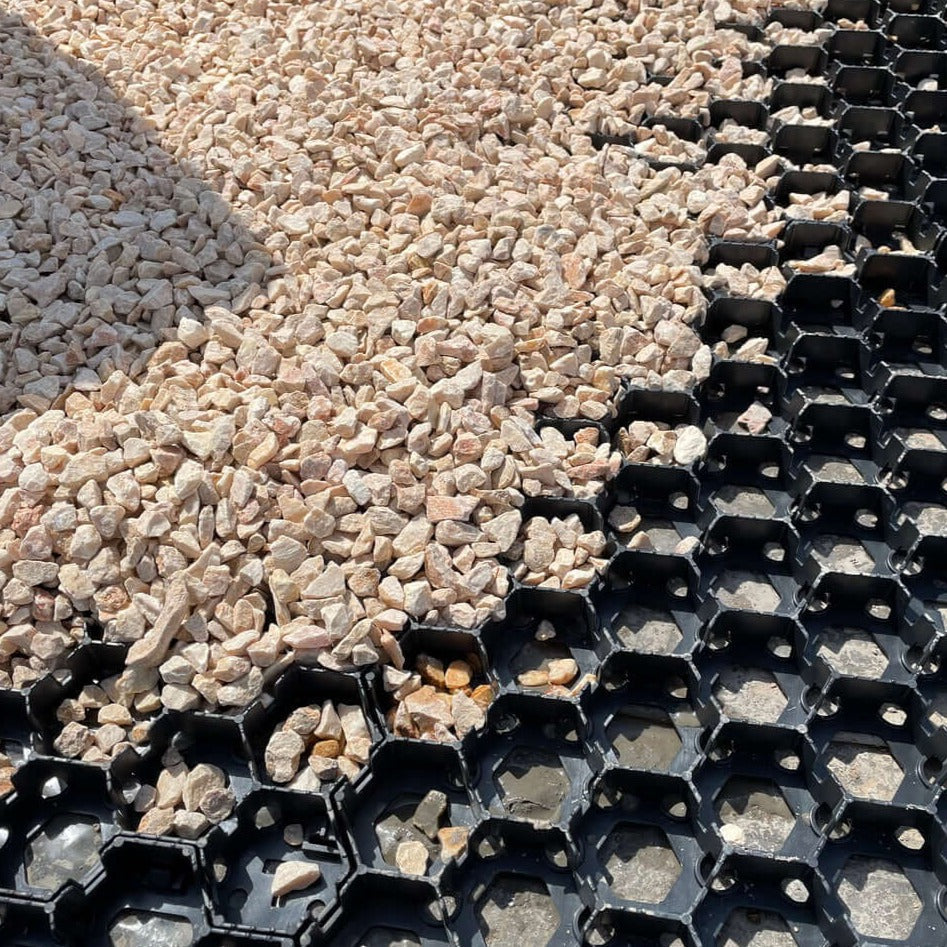
The amount of stone needed is obtained by calculating 60 kg. of chippings per m², it is recommended that it be chippings and not pebbles, so that it compacts better.
The ideal size of the chippings It has a granulometry between 6 and 16 mm, any chippings within that range it is valid.
Advantages of gravel stabilizer
- Easy installation, little effort.
- Affordable price, much more comfortable and practical garden paths.
- The pieces are joined together very simply thanks to the “click” tabs.
- Draining paths avoid the creation of annoying puddles.
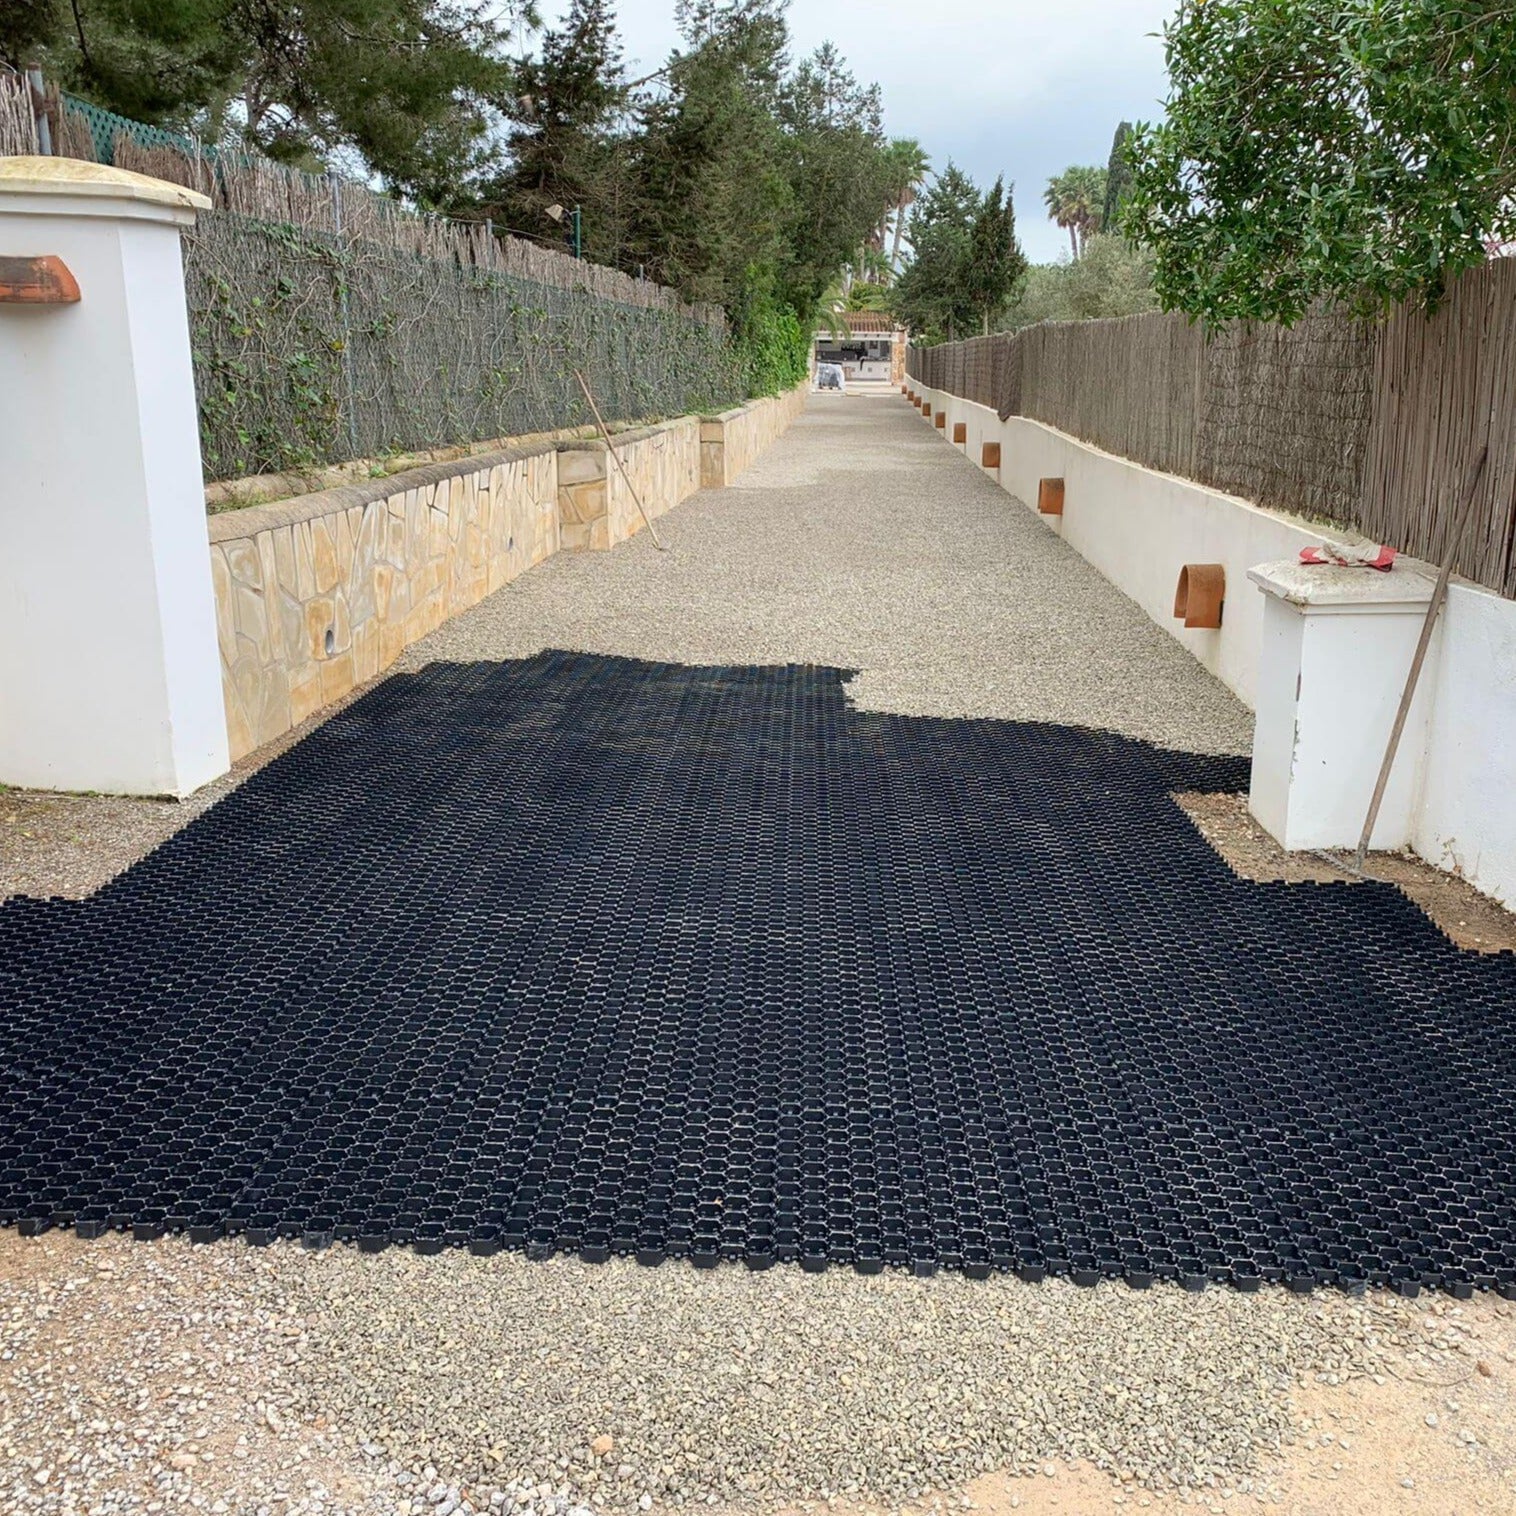
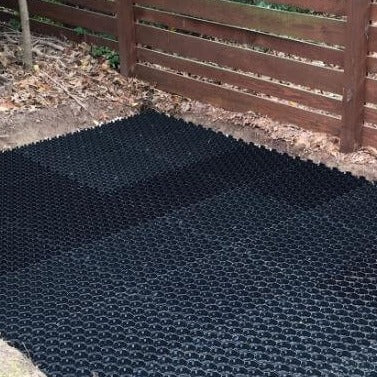
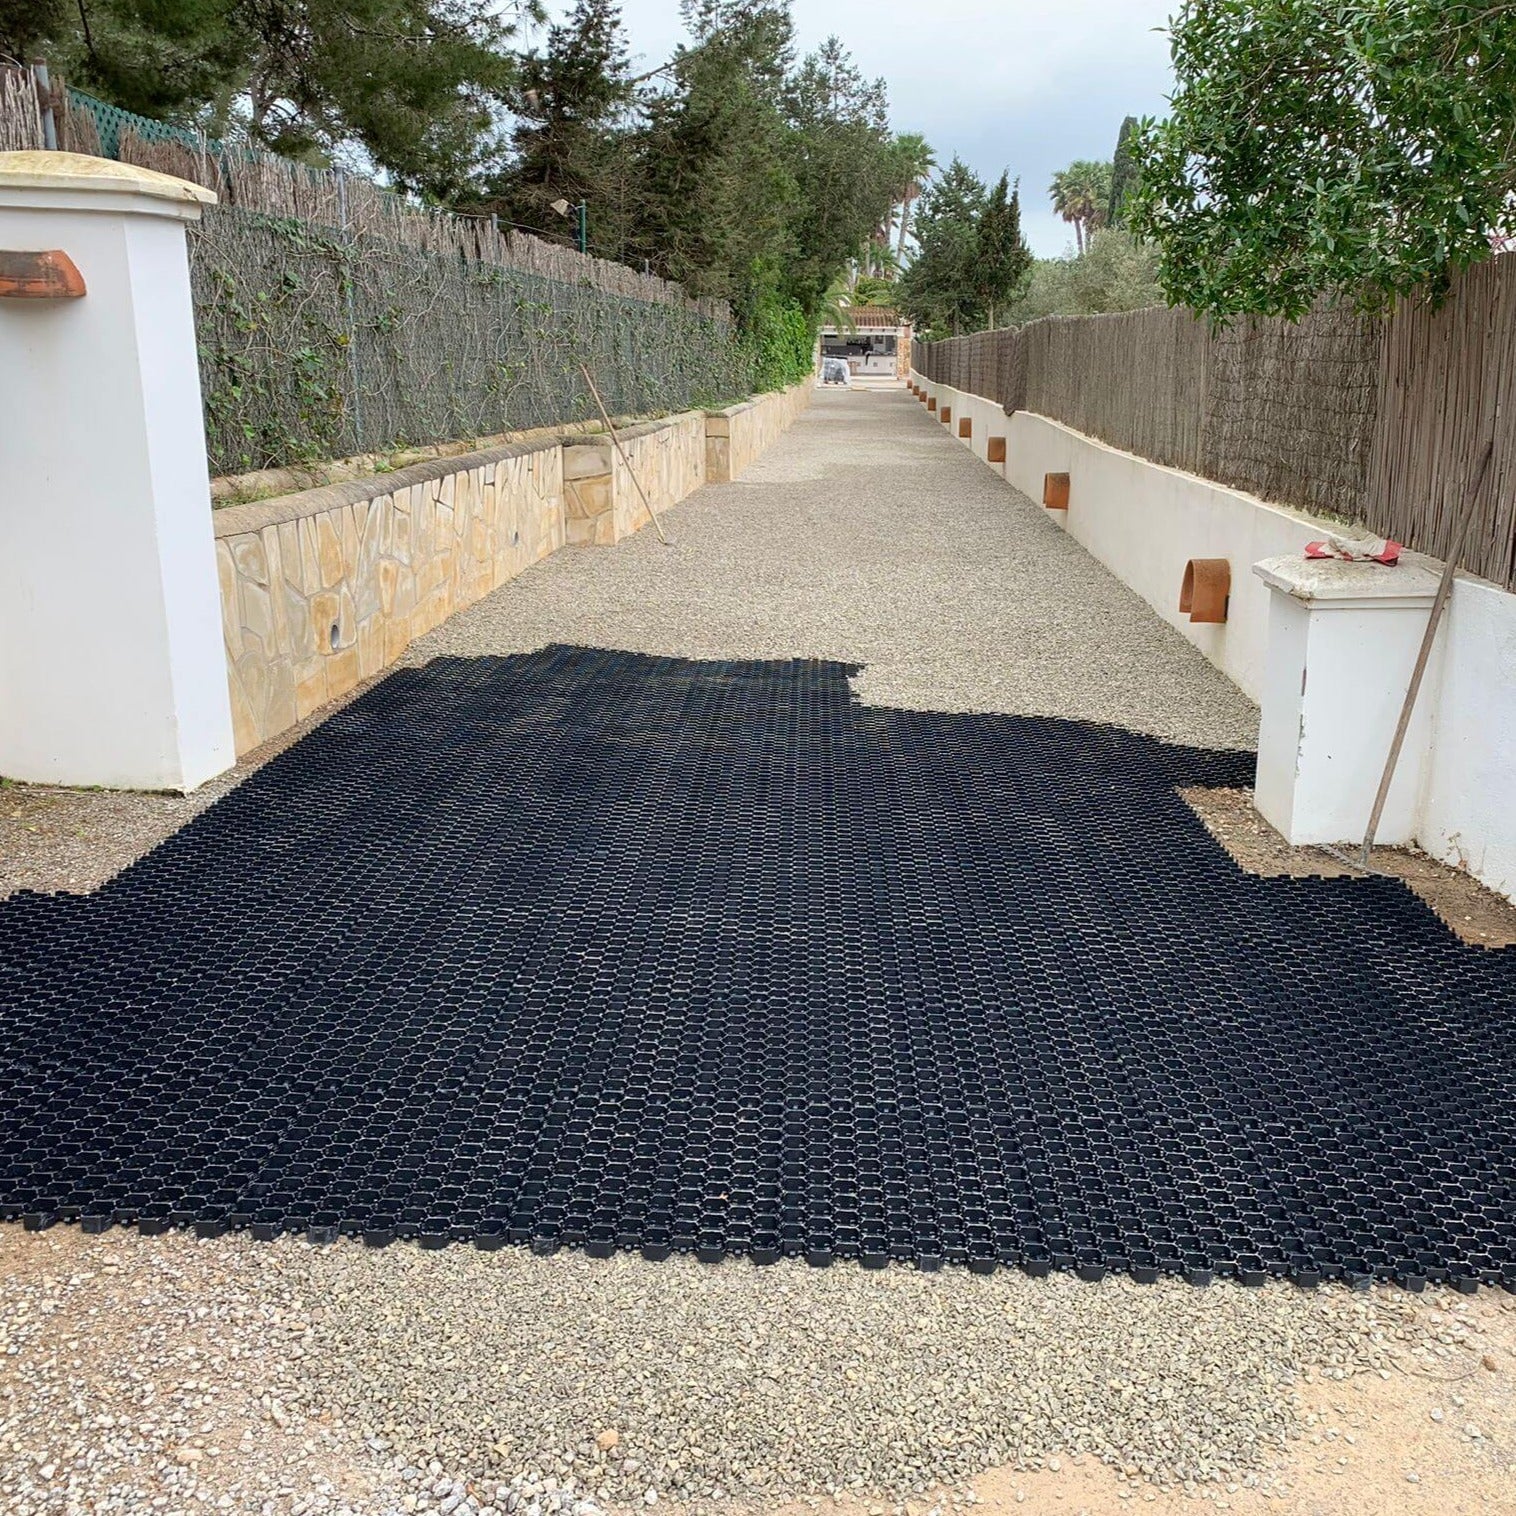
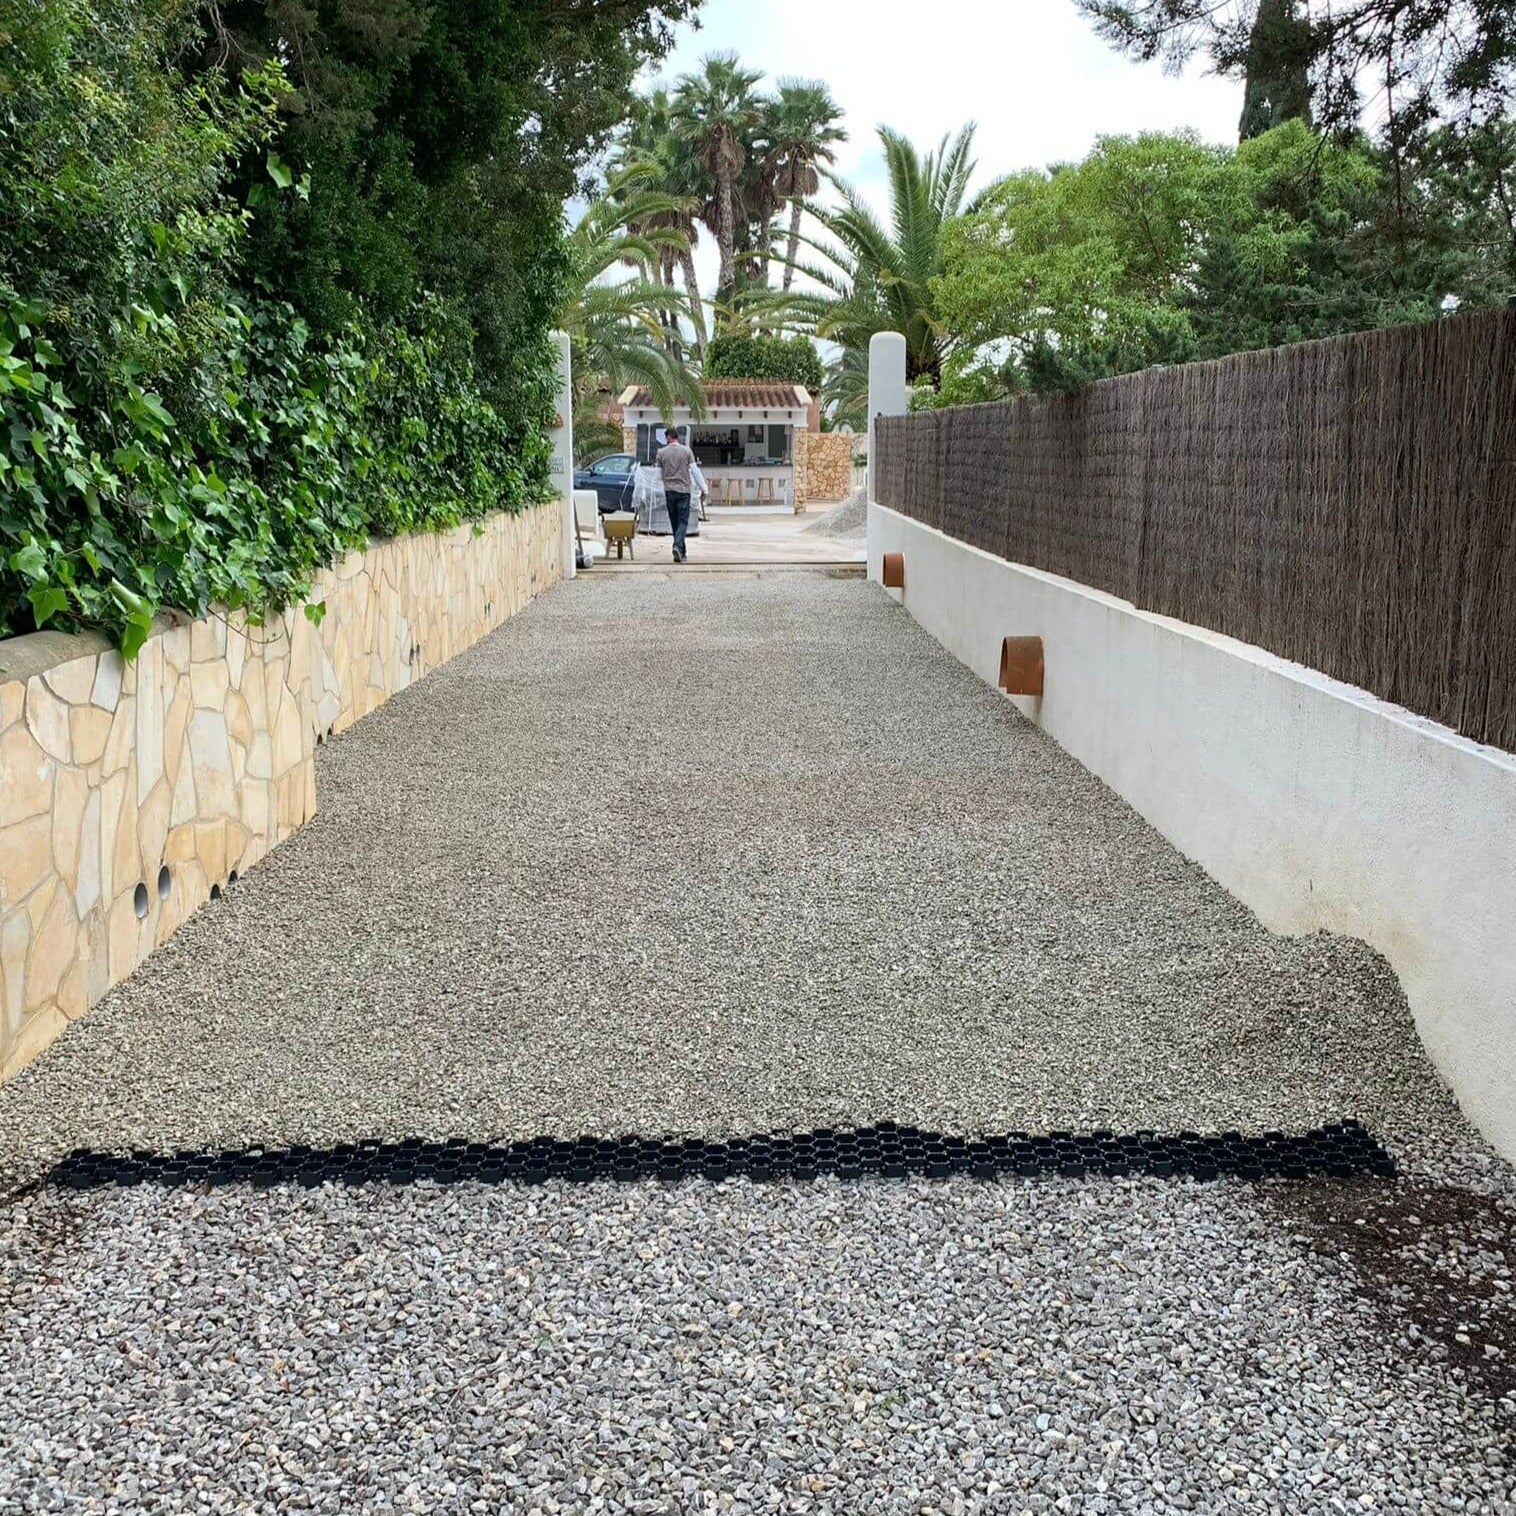
Installation of rigid gravel stabilizer
Important!
Placing the gravel stabilizer is not excessively complicated, but it does require following specific steps; it is a matter of patience rather than skill.
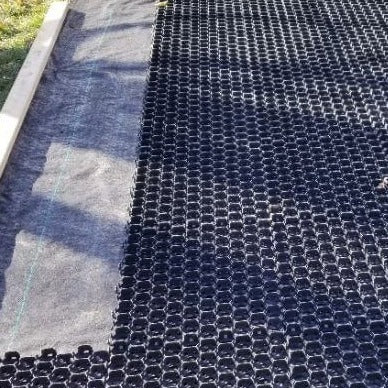
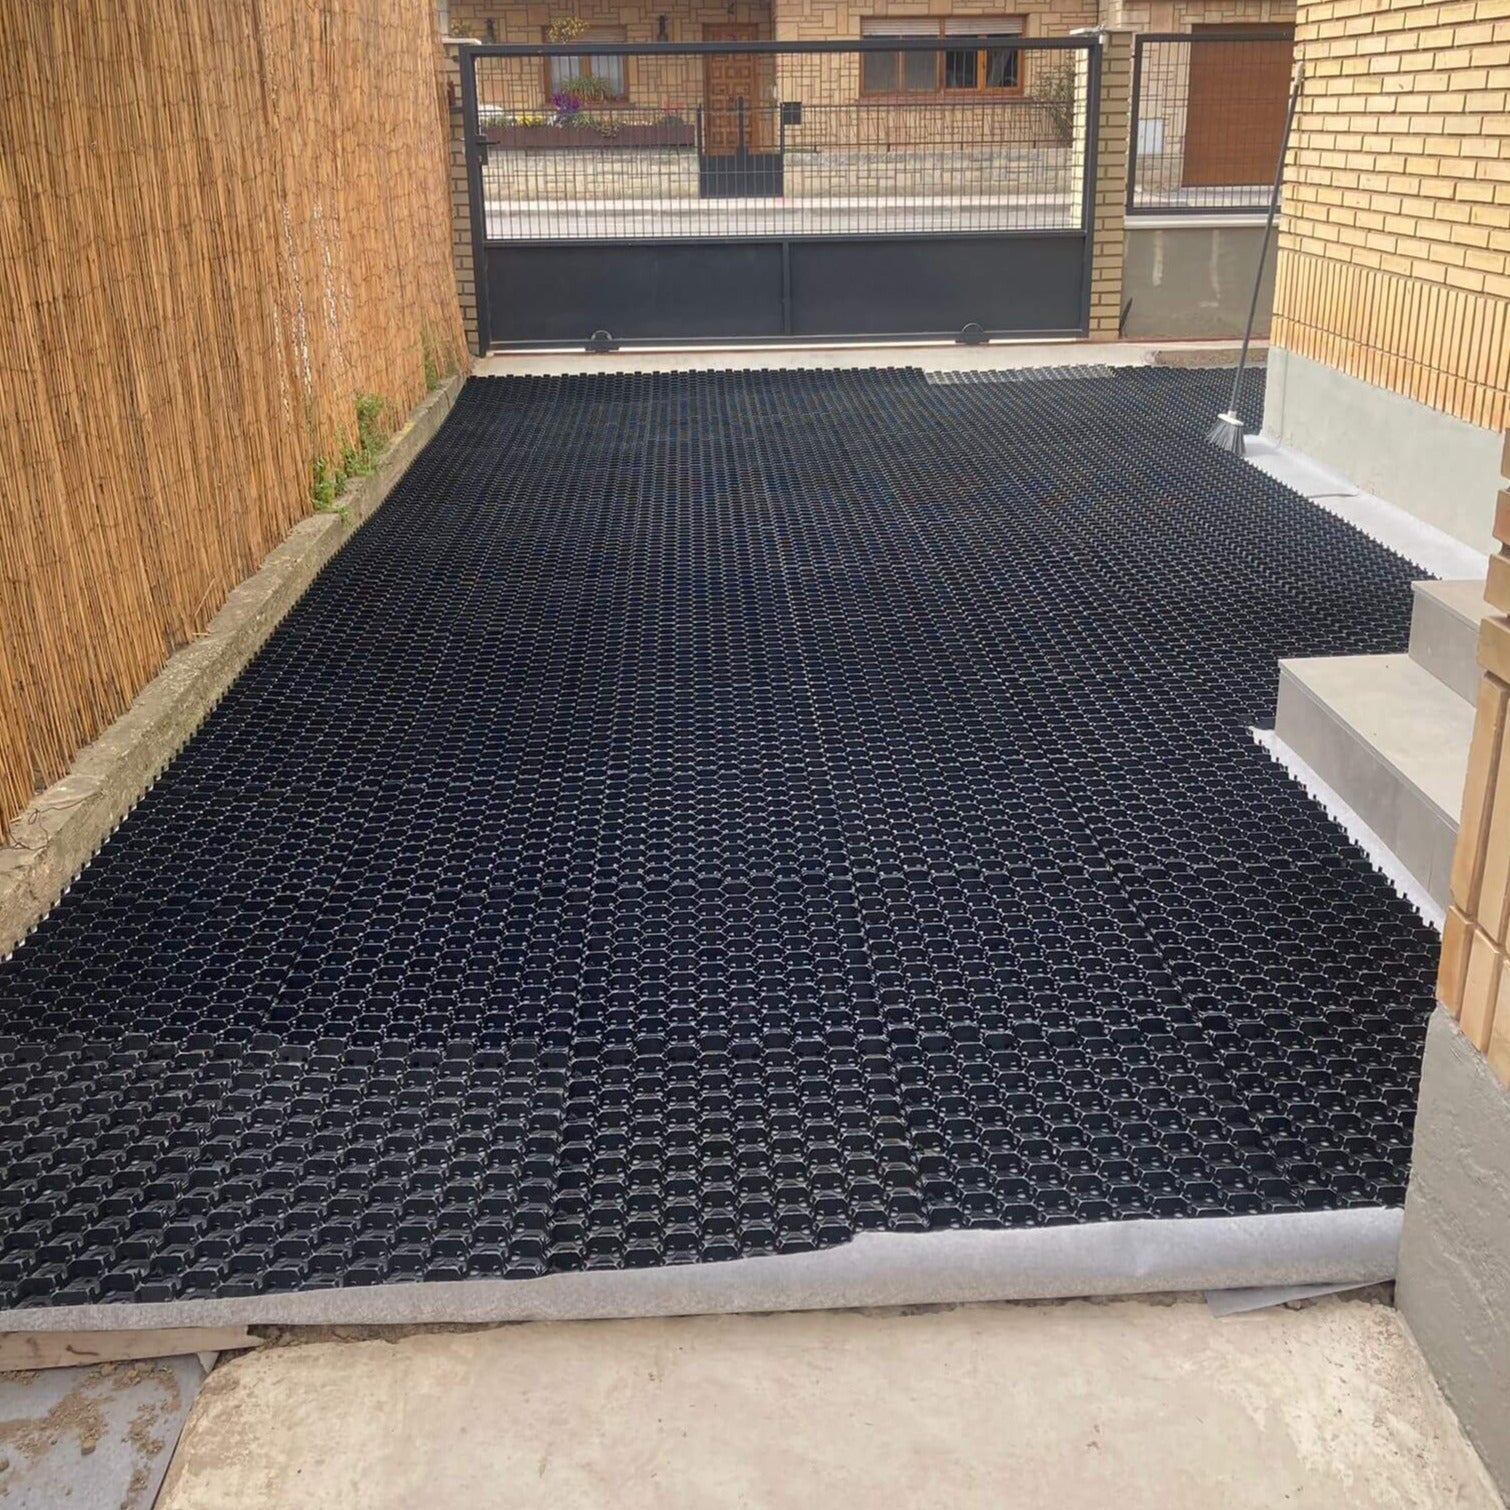
- If the terrain on which you are going to place the stabilizer is dirt or grasses may grow, it is highly recommended to place a anti-grass mesh. We cut the mesh to the size of the space, stretch it well and secure it with fastening staples.so it doesn't move.
- Later we place the plates on the mesh and secure them around the entire perimeter with staples until it perfectly occupies the entire surface.
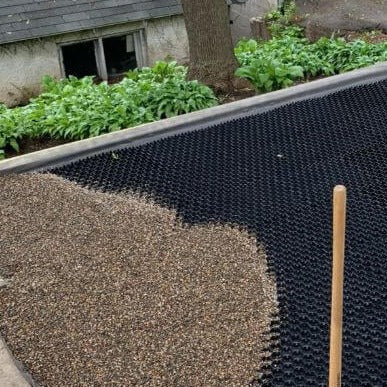
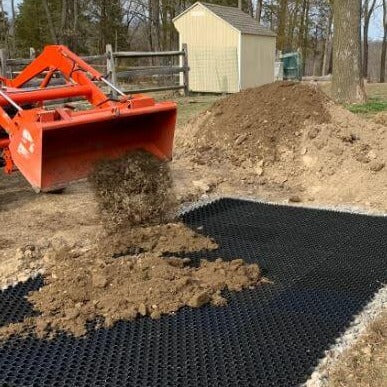
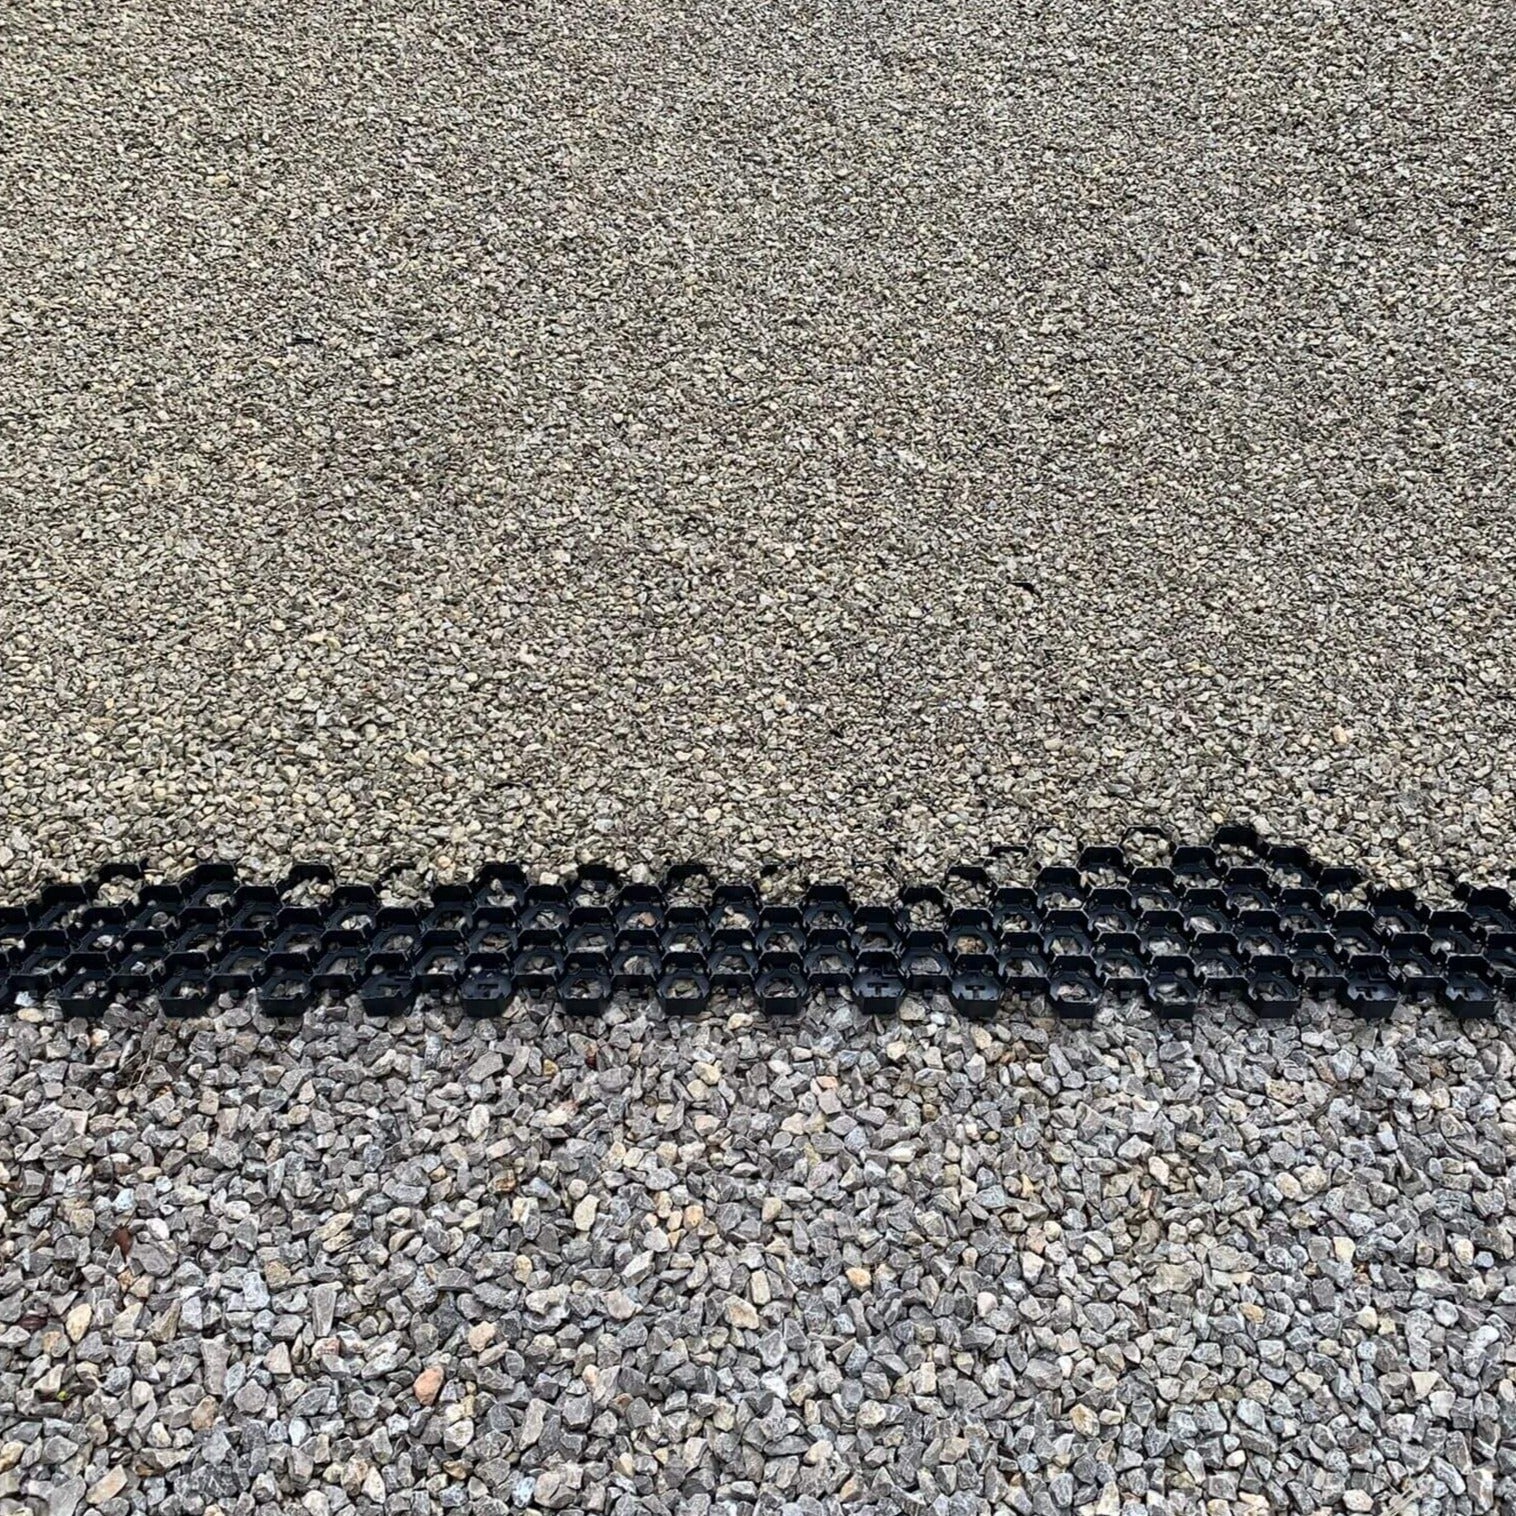
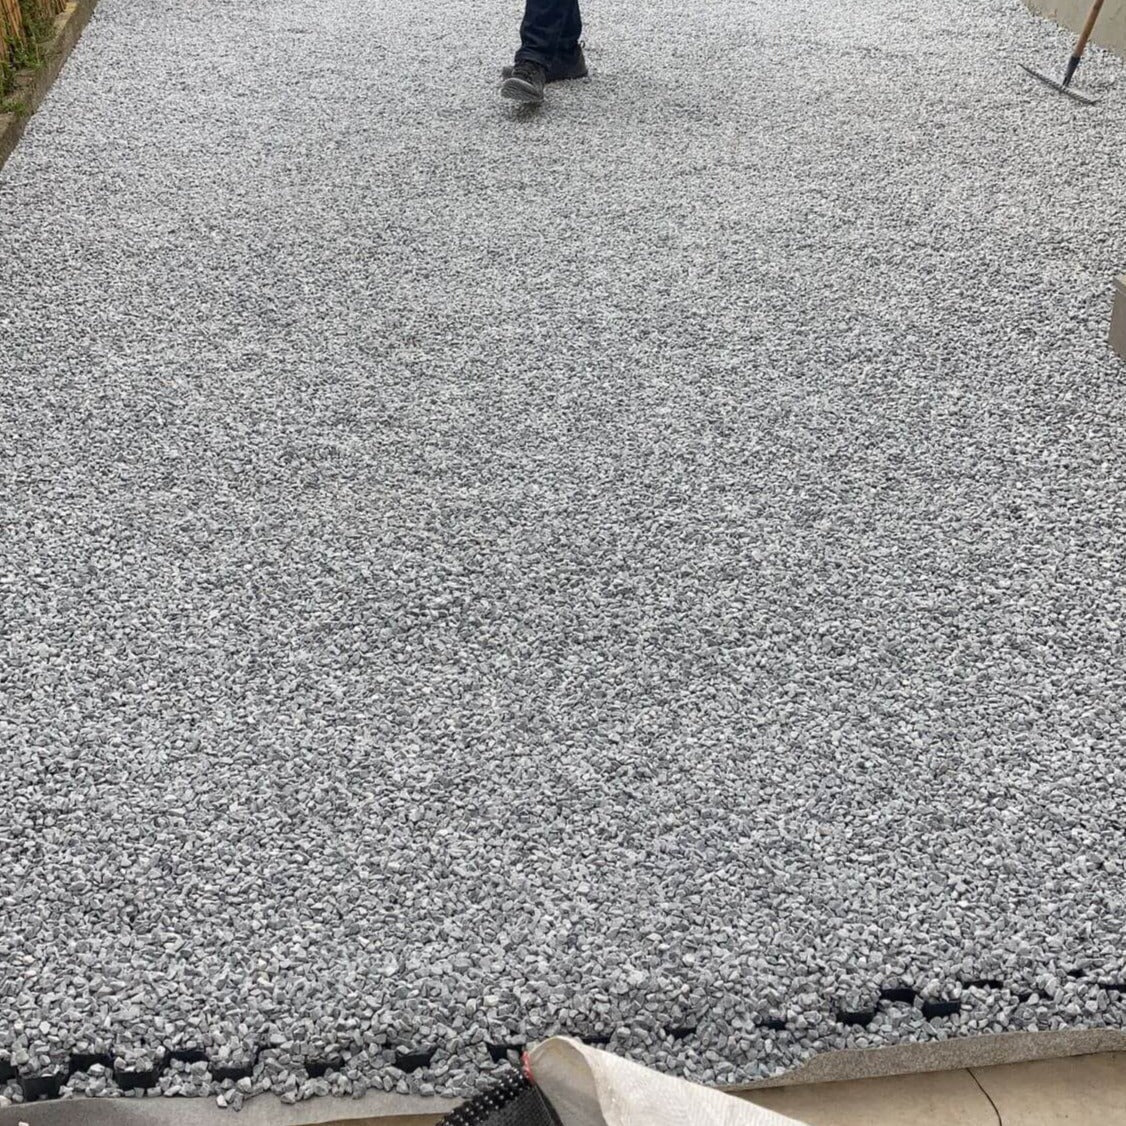
- We begin to fill the cells with gravel, first fill a section and then we can add more amount of chippings on top of that section and push it towards the empty cells. From this moment on, work is easier and faster.
- Once we have filled the entire stabilizer, it is recommended to add 5 mm more chippings, so that the stabilizer is not visible.
- It is recommended to step well on the chippings, If we have a heavy roller it would be perfect, but if we don't have one we can put a board and stand on it to gradually step on the ground, in this way the chippings It will compact very well and we will achieve the comfortable effect we are looking for.
If you do not know the product or have doubts about whether you are going to place it correctly, we recommend ordering a single pack for now and trying it out, the investment is not very large and the effect that is achieved once it is placed is very pleasant and practical.